 MetaKraftwerk
User Management
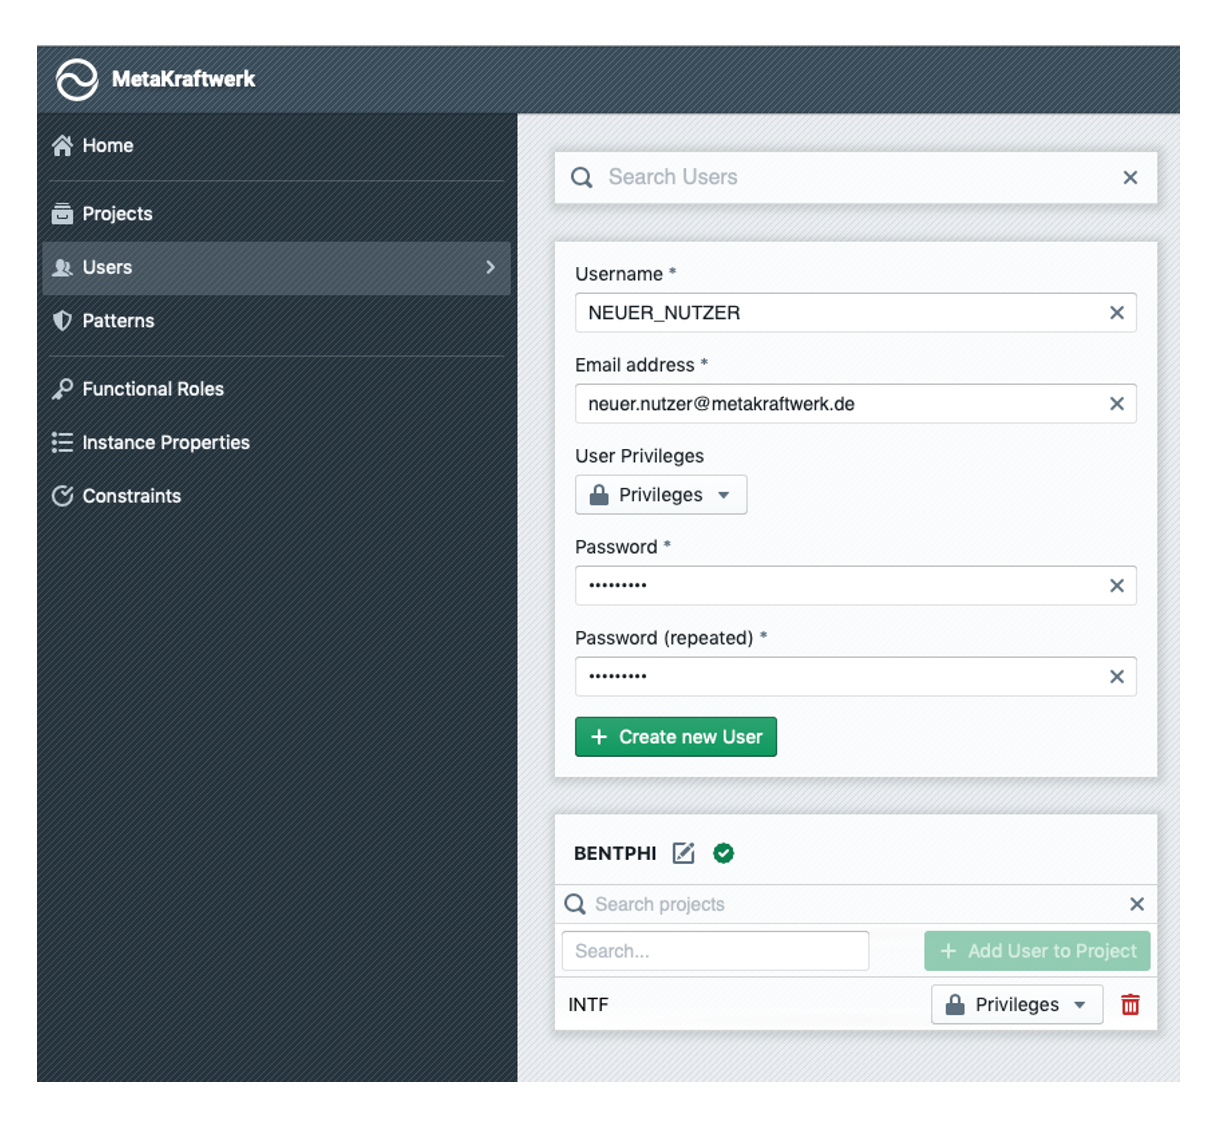
Similar to the projects, the users can also be managed in the administration console.
For this there is a tile for each existing user under "Users". To a user belongs a username, an email address (which is used for the login) and a password.
The password can be set when creating a new user and is subsequently changeable by this user in his profile. In addition, a user can be granted various privileges:
| Privilege | Description |
|---|---|
| Manage Projects | This privilege allows the user to create and manage projects in the Administration Console |
| Manage Patterns | This allows the user to manage patterns |
| Manage Users | This privilege gives the user the ability to create and manage other users. It is also possible to assign privileges to other users |
| Manage Functional Roles | Allows creation of functional roles |
| Manage Instance Properties | Allows defining instance properties |
| Manage Constraints | Allows defining constraints which are applied/checked on the instance metadata |
| Manage APIs | Allows defining Connections and REST API endpoints |
| Manage Releases | Allows to configure the Release Management, create releases and groups |
| Manage Labels | Allows to create Labels which could be added on instances and other objects |
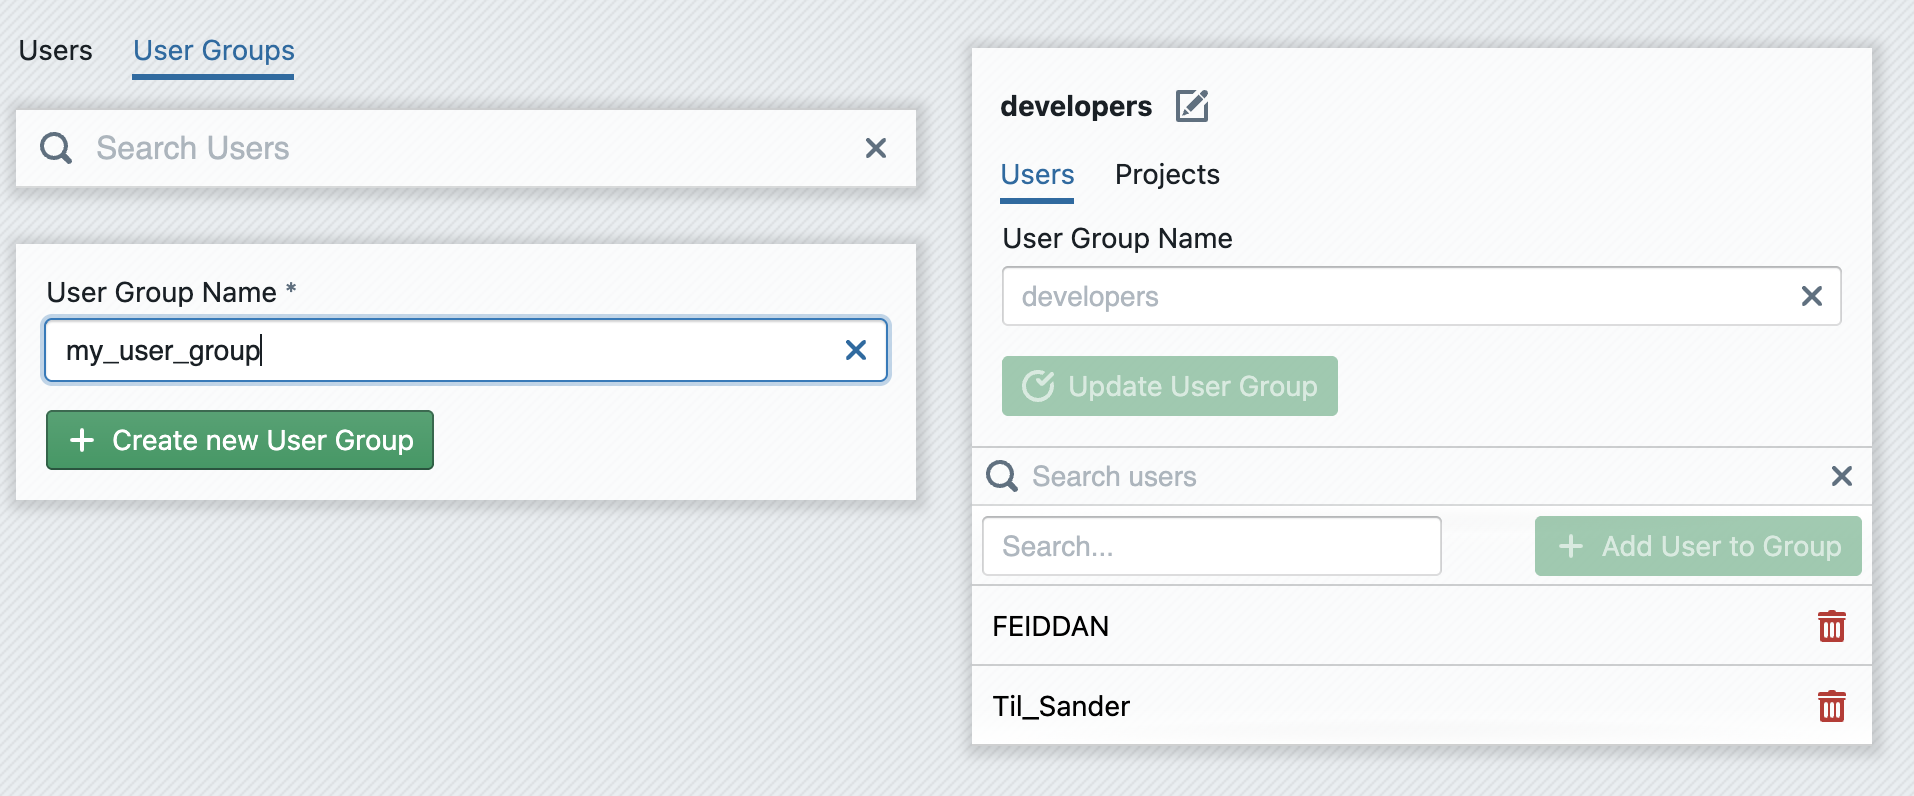
User Groups
Users can be grouped together in user groups. This allows you to assign rights to a user group in a uniform manner. To create a user group, click on the User Groups tab in the Users section. Enter a name for your new user group under New User Group Name and then click on + Create new User Group. The new user group will then be displayed as a single tile in the list of all user groups. You can then add users to the user group via + Add User to Group.
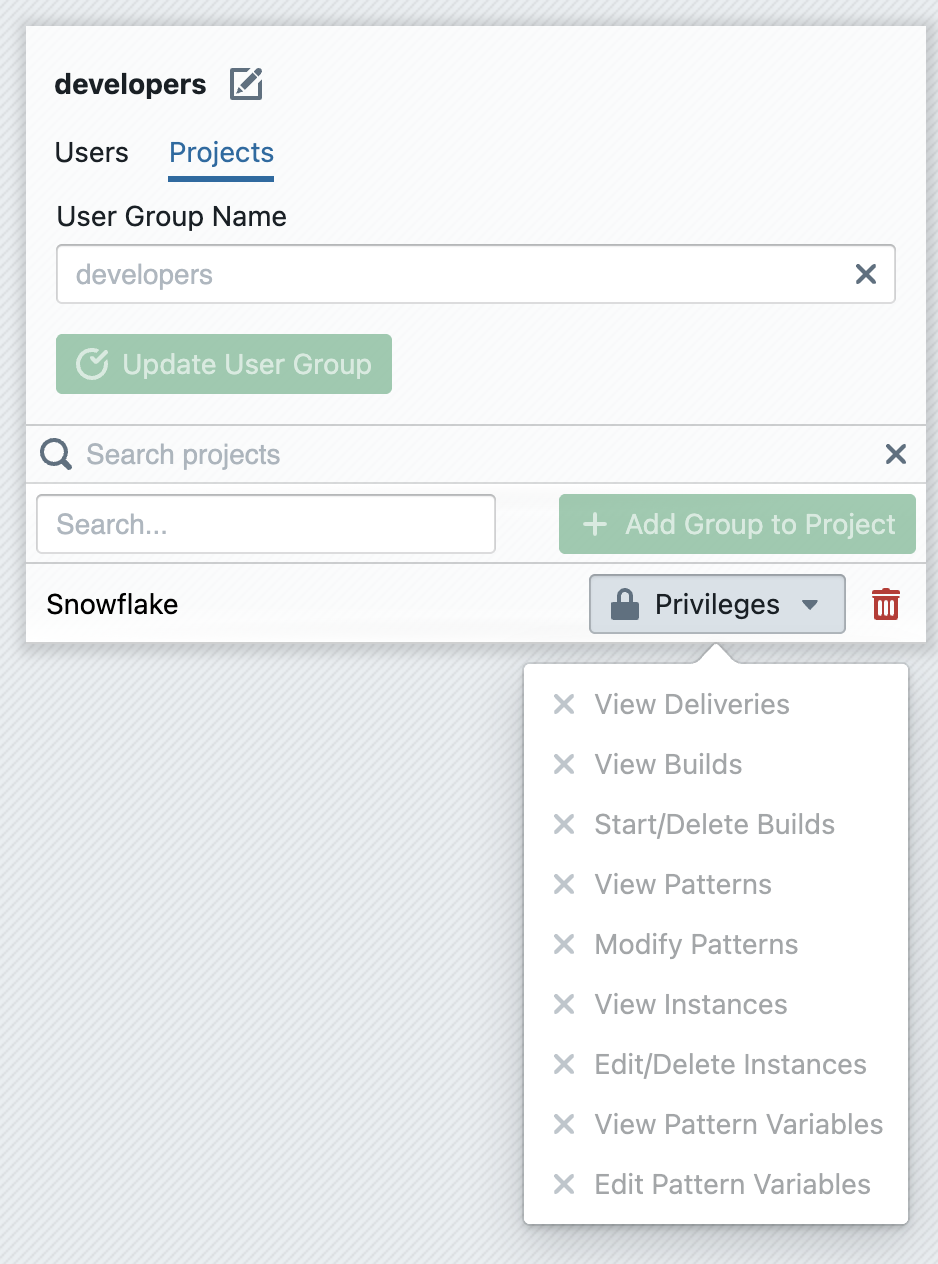
Once this has been done, a user group must also be added to projects to which the users it contains should have access. To do this, switch to the Projects tab and add a new project using + Add Group to Project. Finally, you must define which privileges the users in the group should receive for the respective projects. You can define the privileges for each project individually by configuring them via the drop-down menu of the project entry.