 MetaKraftwerk
Working with an Instance
After an instance is uploaded for the first time, the instance is available in the currently selected release. No commit has been created for the instance yet, i.e. there is no history for the instance yet. If you want to create a first commit for the instance, click on the instance and then on the "Commit" button in the toolbar above the table:
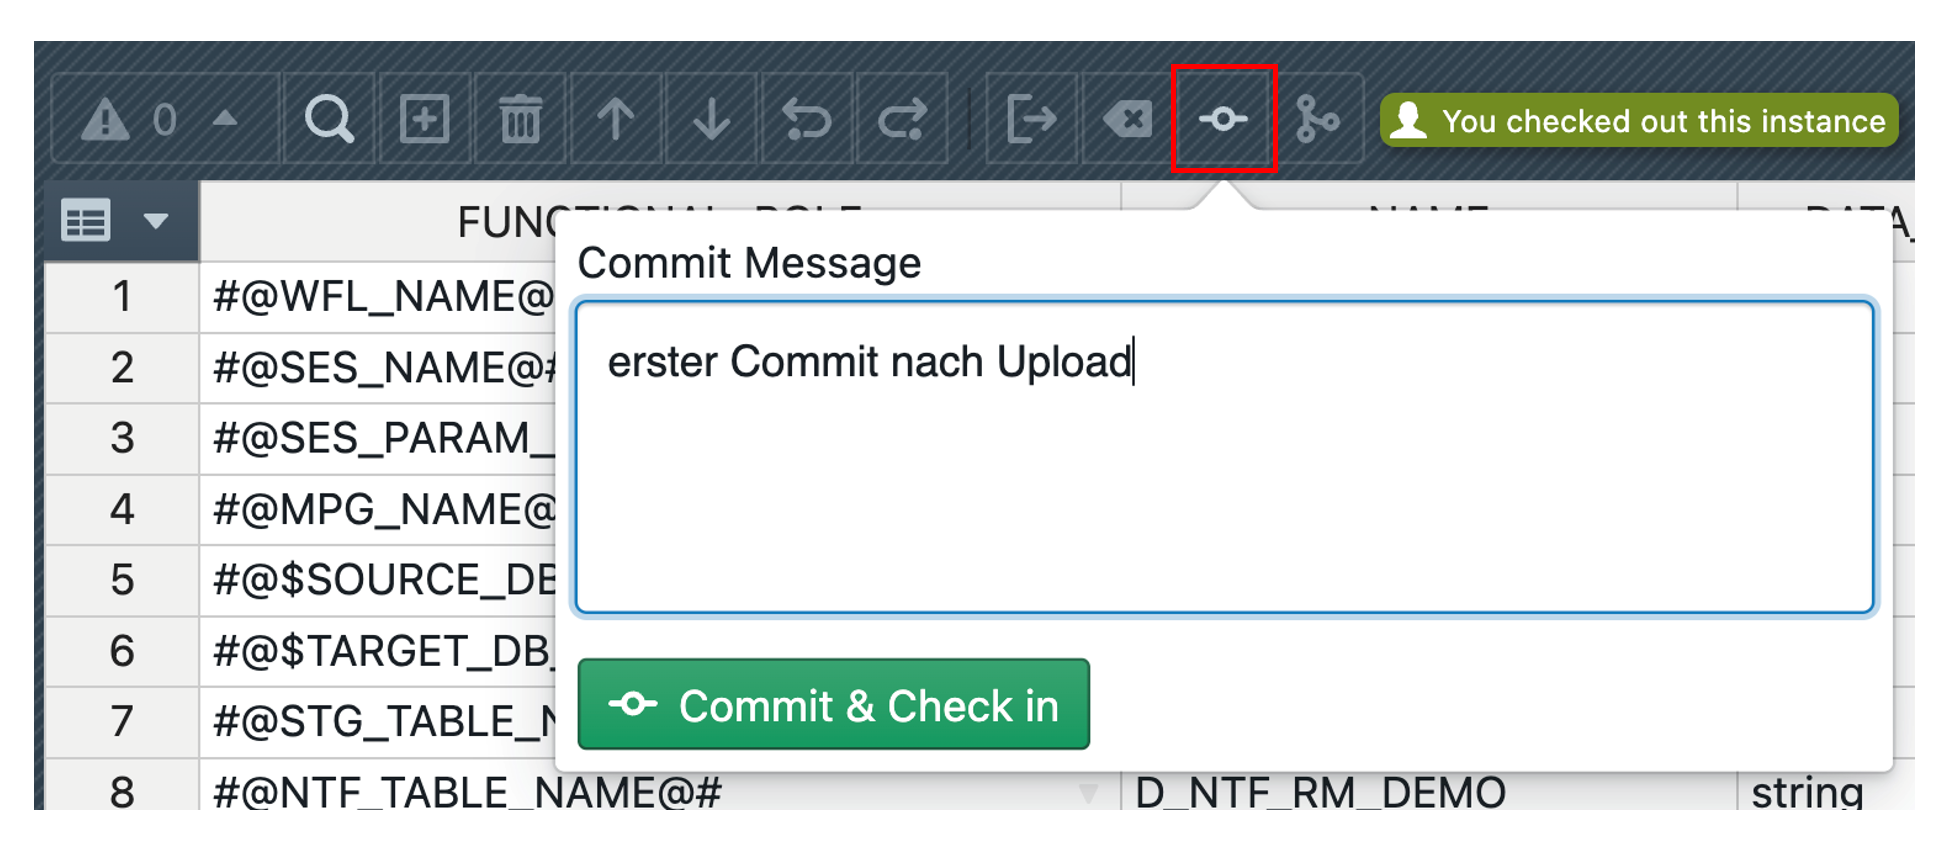
After providing a description of the commit, the instance can be committed by clicking on "Commit & Check in". It is also checked in, which means that it can only be read from now on until it is checked out again by the user. If an instance is checked in, it is ensured that its state corresponds to that of the last commit. It is important that the commit is always created within the currently selected release.
If you now want to change a checked-in instance (e.g. add a field), you must first check it out. This is possible by clicking on the checkout button in the toolbar.

Now the instance is checked out and can be edited. After the changes have been finalized, there are now two options:
- Commit the instance and check it back in
- Undo the changes (Revert)
The commit is performed again as above via the commit button. To undo the changes, the Revert button in the toolbar must be clicked. After confirming the dialog, all changes since the last commit are forgotten and the instance is checked in again.

It is important to know that an instance can be checked out in one release while it is not in another release. The state therefore always refers to one release. It is therefore possible to make changes in two different releases at the same time, with a different commit being the basis for the change in each case. Whether an instance is checked out is indicated by the green label in the instance list behind the instance name. A corresponding label can also be seen next to the function bar within the instance.
